Projection

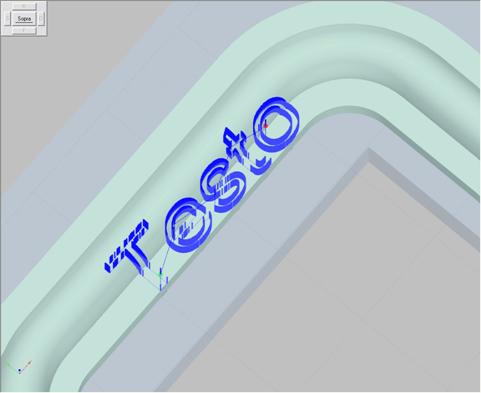
Picture 260
To insert a machining of this type it is necessary to start by selecting the surface on which the projection is to be applied and then associate it with a surface finishing.
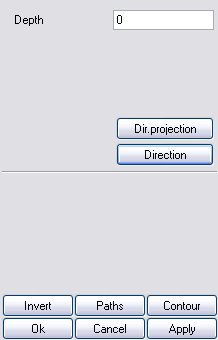
By selecting the “Projection” type the following dialog box appears:

Picture 261
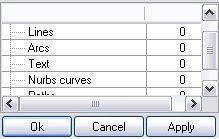
By selecting the “Path” button it will be possible to choose (select) all the entities that are to be projected. During the selection a brief report of the entities that are being projected will be displayed.

Picture 262
Depth: it indicates how deep the projected path will sink into the surface. Like with all other cases it must be expressed with positive values. The entities that, if projected, would lie below the blank piece, are not projected. The "Invert" parameter enables inverting the tool cutting direction.
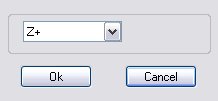
By clicking on the projection direction command the following dialog appears:

Picture 263
By means of this mask the user can choose the direction along which the surface path is to be projected. If the choice falls on direction from plane, the projection will be carried out along the Z axis of the plane itself.
N.b... EasyWOOD takes all surfaces present in the piece into account; if a surface needs to be excluded from the machining check there are two possibilities:
- set the surface on a hidden layer;
- exclude the surface using the "surface off” command that is displayed by pressing the mouse right button when the machining is being modified (only the surfaces that have not been selected for machining definition can be excluded). In this case the surface will be displayed with a transparent look.
Créé avec HelpNDoc Personal Edition: Transformez votre flux de travail de documentation avec l'interface utilisateur intuitive de HelpNDoc